
Tips and Tricks for Capturing Great Images
Everglades National Park is one of my favorite places to photograph. Between the wildlife, landscapes, incredible sunrises and sunsets, and the occasional surprise, there’s almost always something worth pointing a camera at.
Over the years, I’ve picked up a few tricks that have made a difference in my photography. Most are pretty straightforward, and while I’ll use the Everglades as an example, these tips apply just about anywhere.
Timing Is Everything
Early morning and late afternoon are usually the best times to photograph the Everglades. The light is softer and warmer, and the lower angle of the sun brings out colors and textures that tend to disappear in the harsh midday light.
The dry season, November through April, is generally a good time to visit. Water levels are lower, and wildlife tends to concentrate around the remaining water. But any time is better than not at all, and I’ve made some of my favorite photographs under less than ideal conditions.
Partly cloudy days are my favorite. A few clouds can make an otherwise boring sky interesting, especially around sunrise or sunset. And don’t pack up just because the weather looks questionable. Some of the best light happens right before or after a storm.
Bring the Right Gear
You don’t need a truckload of expensive equipment to make good photographs, but having the right lenses certainly helps.
For landscapes, I like a wide-angle zoom, something in the 16–35mm range with a maximum aperture of f/2.8 or f/4. For wildlife, a telephoto zoom gives you the reach you need without having to get too close. And if you’re photographing birds, you’ll quickly discover that you can never have enough focal length.
A good tripod is worth carrying, particularly for landscapes, low-light photography, and longer exposures. Just make sure it’s sturdy enough to support your camera and lens. A cheap, flimsy tripod can be worse than no tripod at all, especially when the wind picks up.
Protect Yourself and Your Equipment
The Everglades can be pretty tough on photographers and their equipment. Heat, humidity, saltwater, sudden thunderstorms, mosquitoes, and deer flies are all part of the experience.
I recommend a good camera backpack or sling with a rain cover, along with a few waterproof bags for extra protection. Even if the forecast looks good, things can change in a hurry.
And don’t underestimate the insects. There are times when the mosquitoes and deer flies can make photography downright miserable. Long sleeves, long pants, a head net, and insect repellent can make the difference between enjoying yourself and wishing you’d stayed home.
Bring plenty of water, too. It’s easy to get dehydrated, especially when you’re concentrating on photography and forget how long you’ve been out in the heat.
Choose the Right Tripod Head
Not all tripod heads are created equal, and the type you use can make a big difference.
Ball heads are probably the most versatile. They’re relatively compact, easy to adjust, and work well for most general photography.
Geared heads are excellent for landscapes and architectural photography, particularly when you need precise adjustments to your composition. They’re slower to use, but sometimes that’s exactly what you want.
For serious wildlife photography with large telephoto lenses, it’s hard to beat a good gimbal head. I’ve always liked the Wimberley heads. They balance heavy lenses beautifully and make it much easier to follow moving subjects, especially birds in flight.
Of course, a gimbal isn’t something I’d want to carry around all day unless I really needed it.
Camera Settings
I’m a big believer in shooting RAW. Today’s memory cards can hold thousands of images, and RAW files give you considerably more flexibility when editing, particularly when recovering highlights, opening shadows, or correcting white balance.
As for camera settings, there isn’t one combination that works for everything.
For landscapes, I usually start somewhere around f/8 to f/11, depending on the lens and how much depth of field I need. Smaller apertures such as f/16 can be useful, but diffraction can also soften an image, so there’s a tradeoff.
For wildlife, I often shoot with the lens fairly wide open, especially when I want to separate the subject from the background.
Shutter speed is another consideration. For birds in flight, 1/1600 or 1/2000 second is a good starting point, although you may need something faster or slower depending on the bird and what it’s doing.
For stationary subjects, you can get away with much slower speeds, particularly when using a tripod. But remember that a tripod won’t stop a bird from moving or a leaf from blowing in the wind.
And don’t be afraid to raise your ISO. Modern cameras handle higher ISO settings remarkably well. I’d much rather have a sharp photograph with a little noise than a blurry one with none.
Pro Tip: Auto ISO
One feature I use frequently is Auto ISO, particularly when photographing wildlife.
I generally prefer shooting in Manual mode, where I control both the shutter speed and aperture while the camera adjusts ISO to maintain the exposure. I also set a maximum ISO I’m comfortable with, depending on the camera and lighting conditions.
It’s a great setup when you’re photographing birds or other wildlife that may move quickly between sunlight and shade. You can concentrate on composition and tracking the subject without constantly changing your ISO.
But there is one important limitation.
In Manual mode with Auto ISO, once the camera reaches your maximum or minimum ISO, it generally won’t change your selected shutter speed or aperture to compensate. If the scene becomes too dark, your photograph may be underexposed. If it’s too bright, it may be overexposed.
In aperture or shutter priority modes, the camera may adjust other exposure settings, depending on the model and how you’ve configured it.
So Auto ISO isn’t foolproof. You still need to pay attention to your exposure, especially when the light changes dramatically.
Most modern mirrorless and DSLR cameras offer Auto ISO, although the available settings and how they work vary by manufacturer.
Pro Tip: Focus Bracketing
Focus bracketing is a technique worth learning, particularly for landscapes and close-up photography.
Sometimes you’re photographing a scene with something very close to the camera and other elements much farther away. Even at a relatively small aperture, it may be impossible to get everything perfectly sharp in a single exposure.
Focus bracketing solves that problem by taking a series of photographs at different focus distances. You can then combine them in software such as Photoshop to produce an image with greater depth of field.
Many newer cameras can automate the process, making it easier than it used to be.
It’s especially useful for macro photography, where depth of field can be extremely shallow. Just remember that moving subjects can create problems when combining the images later.
Pro Tip: Exposure Bracketing
Exposure bracketing is another technique I use, particularly when photographing sunrises, sunsets, or scenes with a wide range of brightness.
The idea is simple. You take several photographs of the same scene at different exposures, usually one at the camera’s recommended exposure, one or more darker, and one or more brighter.
Later, you can combine them to retain detail in both the highlights and shadows.
This is especially useful when photographing a bright sky over a dark landscape. Sometimes the contrast is simply too great to capture everything the way you want in a single exposure.
A tripod helps keep the images aligned, although modern software can often compensate for slight movement between frames.
Exposure bracketing works best with relatively stationary subjects. If you’ve got birds flying through the frame or waves breaking along the shoreline, combining the exposures can be a little more challenging.
Pro Tip: Combining Focus and Exposure Bracketing
You can also combine focus bracketing and exposure bracketing when a scene requires both additional depth of field and a wider range of exposure.
For example, you might photograph a landscape with a close foreground subject, distant trees, and a bright sunset in the background. Focus bracketing helps keep everything sharp, while exposure bracketing preserves detail in the bright sky and darker foreground.
It takes more photographs and a little more work in post-processing, but the results can be worth it.
I wouldn’t use this technique for every photograph. Sometimes it’s better to keep things simple, especially when the light or your subject is changing quickly.
Look for Patterns and Textures
One of the things I enjoy most about photographing the Everglades is finding interesting details that are easy to overlook.
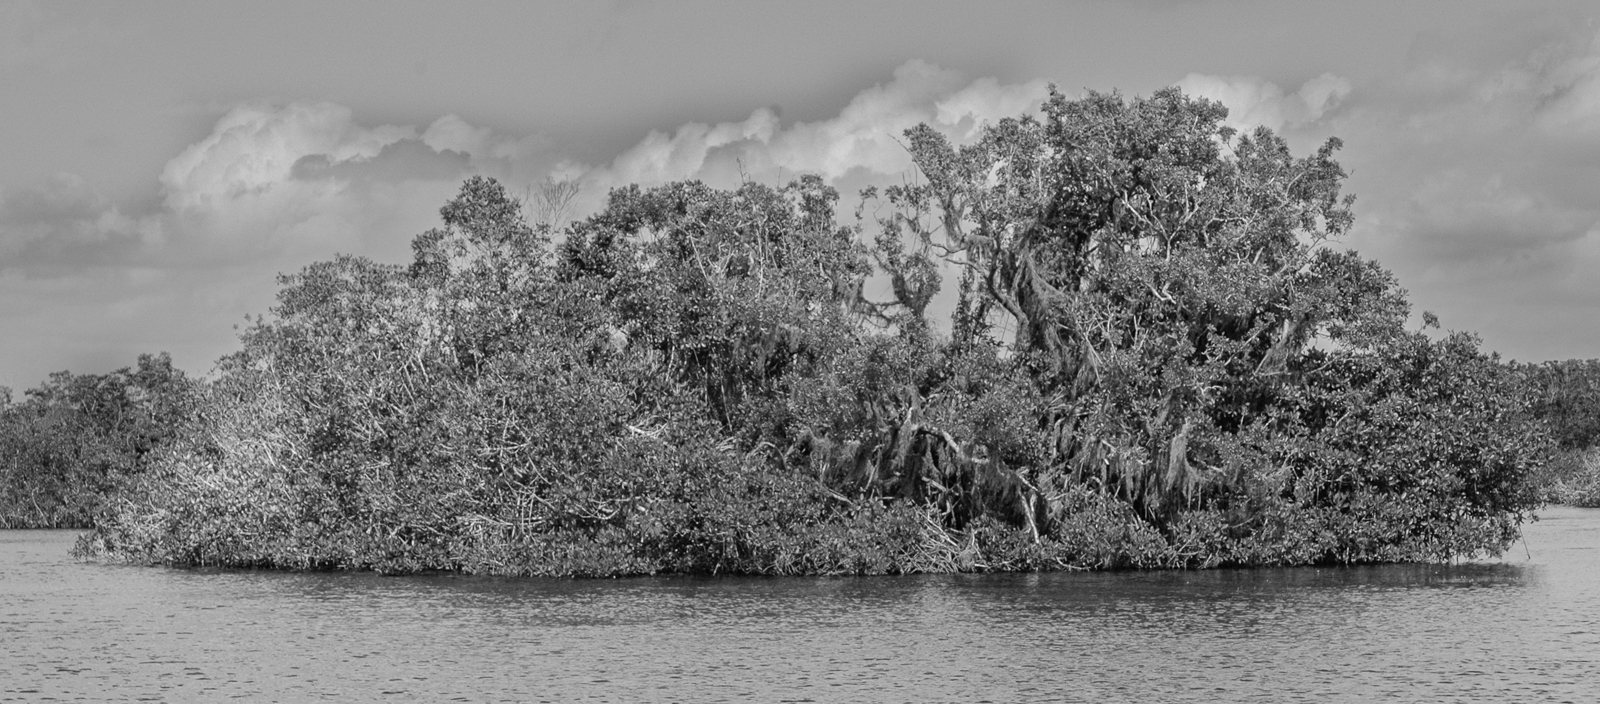
It might be the pattern of ripples on a quiet pond, the bark of an old cypress tree, reflections in the tannin-stained water, or the shapes of mangrove roots along a creek bank.
Pay attention to how the light falls across these subjects. Early morning and late afternoon light can bring out textures that are almost invisible when the sun is directly overhead.
And don’t always reach for the widest lens. Sometimes a longer focal length can isolate a small section of a landscape and produce a much more interesting photograph.
Focus on Wildlife
The Everglades is home to an incredible variety of wildlife, from American crocodiles and alligators to wading birds, otters, bobcats, and the occasional Florida panther. Unfortunately, we also have our share of invasive species, including the Burmese python.
When photographing wildlife, patience is probably your most important piece of equipment.
Take the time to watch your subject and learn its behavior. A bird standing motionless on a branch might not make a particularly interesting photograph, but wait a few minutes and you may catch it taking flight, feeding, or interacting with another bird.
Use continuous autofocus and an appropriate shutter speed for moving subjects. Most modern cameras have sophisticated subject tracking systems, including eye detection for birds and animals. Learn how yours works before you head into the field.
And keep your distance. A long lens is a much better option than trying to get closer to an animal that doesn’t appreciate your company.
I’ve spent much of my life around alligators and crocodiles, and while they generally want nothing to do with us, it’s important to respect them. The same goes for bears, snakes, and just about anything else with teeth.
If you happen to find a python stalking you, I’d suggest putting the camera down and reconsidering your choice of subjects.
Edit with Care
Post-processing is part of modern photography, and programs like Adobe Lightroom and Photoshop offer an incredible amount of control over your images.
I use them to adjust exposure, contrast, white balance, color, and sharpness, along with the occasional crop or correction.
But there’s a point where too much editing can ruin an otherwise good photograph.
Oversaturated colors, excessive sharpening, and heavy-handed HDR processing can make an image look unnatural. I’m not suggesting there’s anything wrong with creative editing, but personally, I prefer photographs that look reasonably close to what I actually saw.
And remember, no amount of editing will turn a poorly composed photograph into a great one. It’s always better to get things right in the camera whenever possible.
A Few Final Thoughts
I’ve spent thousands of hours photographing and exploring the Everglades, and I’m still finding new things to photograph. Sometimes it’s a spectacular sunrise or a bird doing something unusual. Other times, it’s something as simple as the way the afternoon light hits a stand of cypress trees.
You don’t need the latest camera or the most expensive lenses. Understanding your equipment, paying attention to the light, and spending time in the field will do more for your photography than just about anything else.
Take plenty of photographs, and always carry extra memory cards. You never know when something interesting is going to happen.