Tips and Tricks for Capturing Great Images
The Everglades National Park is a unique ecosystem, full of wildlife and beautiful scenery. For photographers, it’s a paradise of dynamic landscapes, awesome sunsets, and fascinating critters. Here are some tips and tricks for capturing the best photos in the Everglades – but not limited just to the Glades!
Timing is Everything
The best time to photograph in the Everglades is early morning or late afternoon. This is when the light is soft and warm, enhancing colors and textures in the landscape. Also, plan your visit during the dry season (November to April), when water levels are lower, and wildlife is more concentrated. That said, any time is better than not at all. Partly cloudy days are my favorite and can provide a dramatic sky, adding texture and depth to your photos compared to a cloudless sky, which can appear uninteresting.
Bring the Right Gear
To capture high-quality images, you’ll need the right gear. A mirrorless or DSLR camera with a wide-angle lens such as a 2.8 or 4.0, 16 – 35mm is ideal for sweeping landscapes, while a zoom or telephoto lens allows you to get close to wildlife. A tripod is essential for stability, especially in low-light conditions.
Protect Yourself and Your Equipment
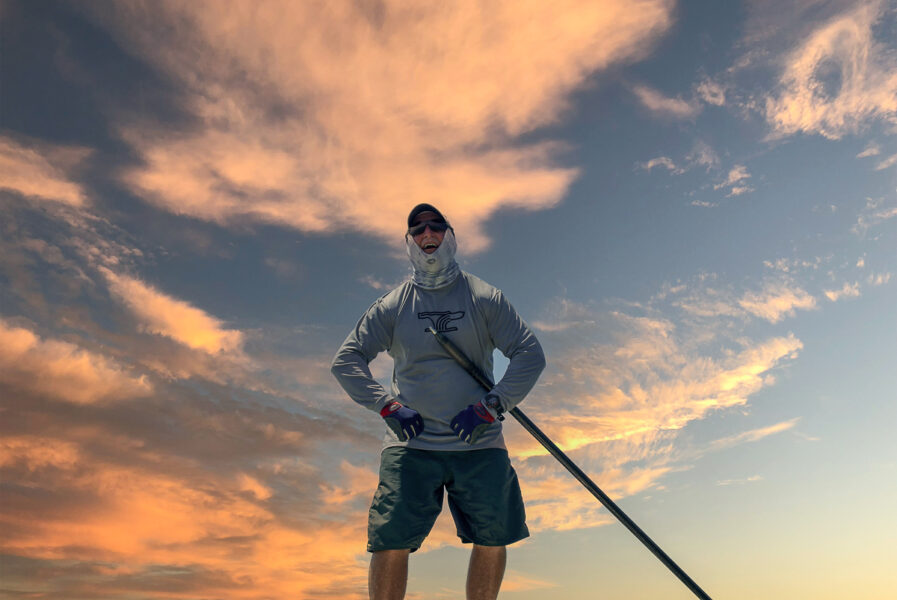
The Glades can be a challenging environment, so preparation is key. A waterproof camera sling or backpack is essential to protect your gear from sudden rain showers and the humid environment. Additionally, bug repellent or wearing a head net, long sleeves, and long pants, can help shield you from relentless deer flies and mosquitoes. Staying hydrated is also crucial, so bring plenty of water to avoid dehydration.
Choose the Right Tripod Head
Different tripod heads can significantly impact your shooting experience. Ball heads offer versatility and quick adjustments, while geared heads are excellent for precise composing. For wildlife photography, gimbal heads, such as the Wimberley, provide excellent support for heavy telephoto lenses, allowing fluid movement and precise tracking of moving subjects like birds in flight.
Adjust Your Camera Settings
For the best image quality and maximum editing flexibility, always shoot in RAW format. RAW files retain more detail and allow for better adjustments in post-processing compared to JPEG.
Consider using focus bracketing for enhanced depth of field in landscape photography if you have features both very close and far away. This technique involves taking multiple images at different focus points and merging them in post-processing to achieve greater sharpness throughout the scene.
Understanding and adjusting your camera settings will help you achieve the best results. Use a low ISO (100-400) to minimize noise, and set your aperture based on your subject – wider (f/2.8–f/5.6) for wildlife to create a blurred background, and narrower (f/8–f/16) for landscapes to ensure depth of field. Shutter speed is key: use a fast speed (1/1200s or higher) for birds in flight and a slower one (1/30s–1/60s) for water reflections and scenes with little movement.
Pro Tip…
As an alternative to a fixed ISO, I frequently use Auto ISO with a set minimum and maximum ISO. This gives you the flexibility to adapt to changing light while maintaining control over image quality. It ensures proper exposure without forcing extreme changes to shutter speed or aperture. Setting a maximum ISO prevents excessive noise, while a minimum ISO helps avoid slow shutter speeds that could cause motion blur. This is especially useful for fast-paced shooting, where adjusting ISO manually would slow you down. Paired with manual mode, Auto ISO keeps your shots sharp and well-exposed without the hassle of constant adjustments. Most modern cameras have this feature available.
Be aware that this technique is not perfect – If the lighting conditions require an ISO beyond your set minimum or maximum, the camera will compensate by adjusting the shutter speed or aperture instead. If the scene is too dark and the max ISO is reached, the camera will slow the shutter speed or widen the aperture (if possible) to maintain exposure. This can lead to motion blur or a shallower depth of field than intended. If the scene is too bright and the minimum ISO is reached, the camera will increase shutter speed or narrow the aperture. If the shutter speed maxes out or the aperture is fully stopped down, the image may become overexposed.
Setting appropriate thresholds ensures you stay within acceptable limits for noise, motion blur, and depth of field while letting the camera handle exposure intelligently.
Utilize Exposure Bracketing
Lighting in the Everglades can be unpredictable, so don’t be afraid to use exposure bracketing. By taking multiple shots at different exposure levels, you can merge them later for a perfectly balanced image, capturing details in both the shadows and highlights. This is especially useful for sunrise and sunset shots where the contrast between bright skies and darker landscapes can be extreme – be sure to use a tripod – this is great for landscapes and stationary objects, but not for active wildlife.
Pro Tip…
Using focus bracketing and exposure bracketing together helps capture sharper images with balanced lighting. Focus bracketing ensures everything stays sharp by taking multiple shots at different focus points, which is useful for landscapes and macro photography. Exposure bracketing captures details in both bright and dark areas by taking shots at different exposure levels. Combining both techniques results in an image that is fully in focus and properly exposed, making it ideal for scenes with high detail and varying light conditions.
Look for Patterns and Textures
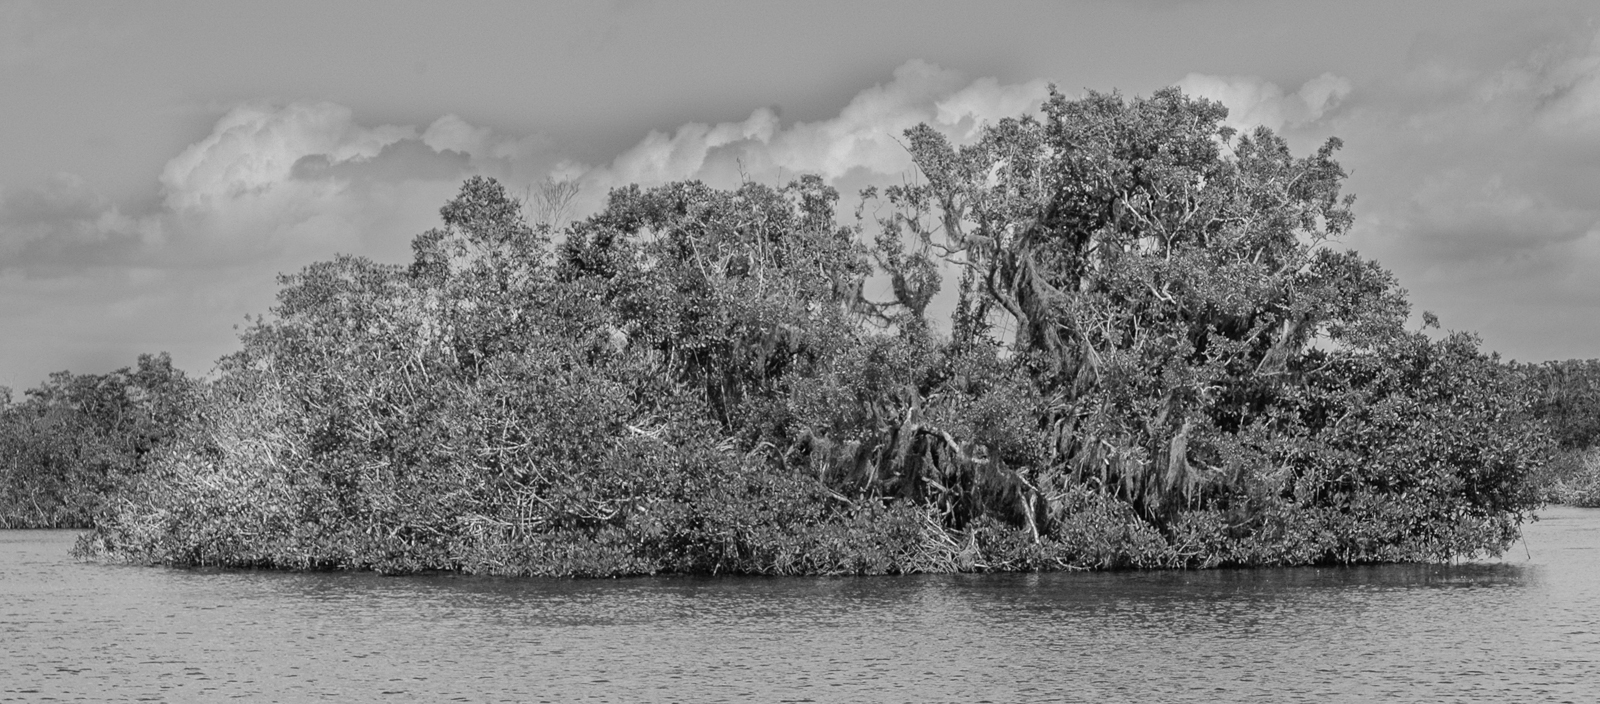
The Everglades is full of intricate patterns and textures, from the ripples in the water, mangroves, and buttonwoods to the rugged bark of the cypress trees. Look for interesting details that can add depth and dimension to your photos. Observe how light interacts with the landscape, creating shadows and highlights that add drama and contrast.
Focus on Wildlife
The Everglades is home to plenty of critters, from American crocs, and gators to wading birds, bobcats, Florida panthers, and sadly a list of invasive species such as the Burmese python. To capture great wildlife shots, be patient and observant. Look for unique behaviors and movements that tell a story, such as a bird taking flight or an alligator or python stalking you. Use a fast shutter speed and continuous autofocus to ensure sharp images, and always keep a respectful distance to avoid becoming prey.
Edit with Care
Once you’ve captured your images, take the time to edit them carefully. Programs like Adobe Photoshop and Lightroom are powerful tools for adjusting exposure, contrast, and color balance, and sharpening your photos. Keep edits natural and avoid filters or excessive saturation, as they can make the images look unrealistic.
The Everglades offers endless photographic opportunities. By using the right settings, bracketing exposures, and focusing on composition, you can create stunning images that showcase the beauty and uniqueness of this incredible ecosystem for years to come.


